Integrative nutrition and wellness consultant. I work with clients to help them develop sustainable wellness plans that promote better health and longevity.
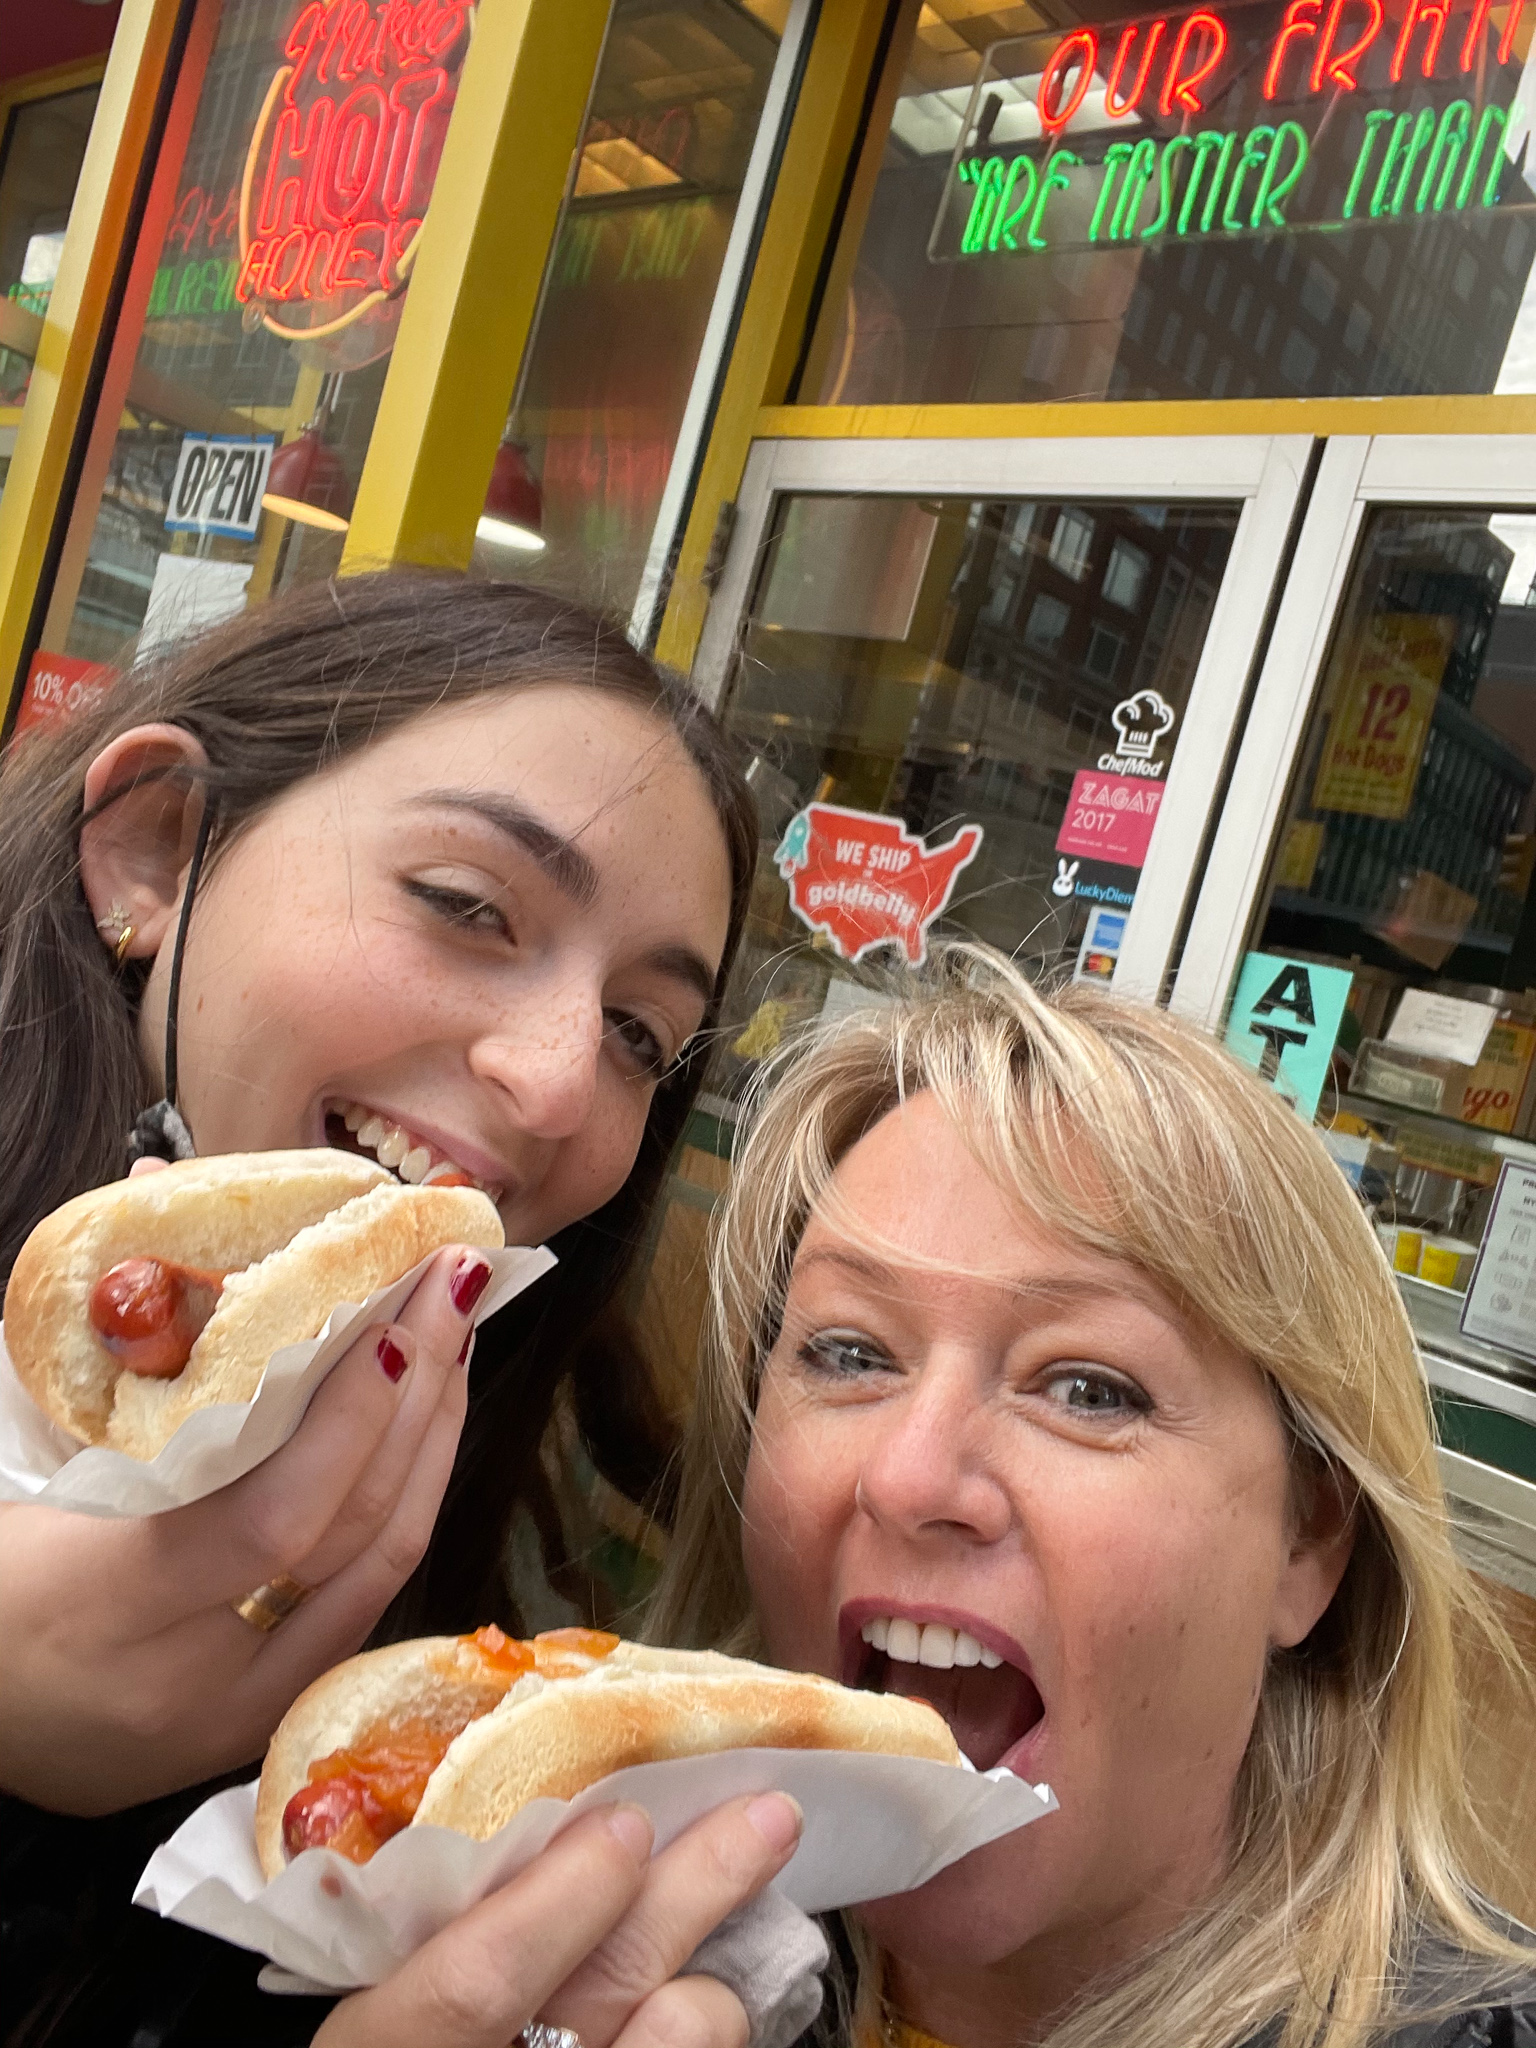
Is Papaya King on 86th Street and Third Avenue and has a rich history in NYC.
Baseball season is upon us and it got me thinking about what is the best hot dog in NYC? I have tried hot dogs all over the city and I think Papaya King is the winner. In 1923 a man named Constantine Poulos immigrated from Greece and ended up in New York City. Poulos found work at a deli. He worked there for several years before purchasing the deli. In 1932 Poulos took a trip to Cuba and discovered a Papaya juice that he fell in love with. When he returned to NYC he was unable to find papaya so he figured out a way to import the fruit to New York. He then decided to sell the deli and open up Hawaiian Tropical Drinks on 86th Street and Third Avenue. In many ways he was the pioneer in juice bars. The tropical juice was a big hit and Poulos opened up other locations. In 1939 Poulos began serving hot dogs at Hawaiian Tropical Drinks. The location of the first Hawaiian Tropical Drinks was in an area known as Yorkville. Yorkville was an area largely populated by German and Polish people and wurst was a very popular food . The addition of hot dogs to Poulos’s juice bar was in keeping with the wurst sold and consumed by people who lived in Yorkville. While seeming to be a very strange combination the papaya juice and hot dog actually go quite well together.
Apparently the name Papaya King was not coined until the 1960’s when a famous Brooklyn Dodger who loved the juice and hot dogs began calling the place “Papaya King”. The name stuck and eventually the place was renamed Papaya King. There have been many imitators but the original is still the best. The hot dog is made with a secret recipe as are the sweet onions that are a must on top. The hot dog has the perfect snap with lots of garlic, salt and spice and is delicious with the soft white bun. You can of course eat the hot dog with mustard or ketchup, or both. Add some sauerkraut if you wish but I highly suggest it with just the sweet, tangy tomato based onions. I am not alone when I say that it is the best hot dog; Julia Child who was a huge fan of hot dogs rated it the “best hot dog in New York” in 1990.
So if you live in New York or are visiting from somewhere I strongly urge you to make a stop at this iconic storefront on 86th and Third.I remember coming here in the 1970’s with my grandparents. We would walk down 86th street and grab a hot dog and then visit some of the other stores in Yorkville like the one that sold beautiful marzipan which has now closed. While the neighborhood changes around it and big buildings are replacing smaller storefronts Papaya King remains the same and thank goodness it does. I now stroll down 86th street with my daughter to grab a hot dog before going to Whole Foods. Eating a hot dog here while sipping the tropical juice is quintessential New York and something I hope never changes.
Processing…
Success! You're on the list.
Whoops! There was an error and we couldn't process your subscription. Please reload the page and try again.
My mother gifted to me her beloved asparagus dishes. I absolutely love these dishes. They have a beautiful vintage feel and are specifically designed to be used only for asparagus. It’s a pleasure to pull these dishes out of the cabinet to serve asparagus. I don’t use them often but when I do it reminds me of how detailed my mother was when she entertained. It’s very special to acquire some kitchen pieces that you can pass down to future generations. There is a closeness that is felt when you know that you are eating off the same plates that your ancestors ate from.
Should I buy thick or thin asparagus?
There are different size asparagus available. Some are pencil thin and others are thicker. If you are roasting the asparagus in the oven the thin asparagus will work great. You do not need to peel thin asparagus. You simply trim off the bottom, rinse them off, toss with olive oil and sprinkle with salt and pepper. The asparagus will be done in under 5 minutes in a 400 degree oven. You can serve them with a little salt and pepper or shave some Parmigiana Reggiano on top. This makes a beautiful appetizer or side dish.
The thicker asparagus need to be trimmed and peeled from below the tip to the bottom. In this recipe I boil the asparagus for around 6 minutes until they are tender but still bright green. You do not want to serve a brown, over-cooked asparagus. After six minutes you should spill out the water and rinse asparagus with cold water and place in an ice bath to stop the cooking. After 5 minutes you can remove the asparagus from the ice bath and place on plates. The asparagus can stay at room temperature for an hour so this is a great appetizer to make when you are entertaining.
How to make a perfect hard boiled egg:
The perfect hard boiled egg should not have dark area between the yolk and white. That does not look nice. You need to pierce the bottom of the egg with an egg piercer before you gently submerge the egg into water. I like the Endurance egg piercer available on Amazon. Take the eggs out of the refrigerator 5 minutes before you place them into the boiling water so they are not shocked by the water. After the eggs have boiled for 10 minutes, turn off the heat and allow them to remain in water for a few minutes. Then set them aside or refrigerate until you are ready to use them. You will have beautiful yellow and white hard boiled eggs.
Some other serving ideas for asparagus:
A simple dressing made with Olive Oil, Red Wine Vinegar, a touch of Dijon and salt and pepper
Chilled chopped crabmeat or shrimp mixed with mayonnaise and dill
Shredded Gruyere or Parmigiana Reggiano. Place under the broiler for a minute to melt if desired.
Hard boiled eggs are chopped and sprinkled over the Asparagus before adding thin slices of prosciutto
Prep Time5 minutesmins
Cook Time15 minutesmins
Total Time20 minutesmins
Course: Appetizer, Side Dish, Salad, lunch
Cuisine: American
Keyword: vegetable, Side Dishes
Servings: 4people
Calories: 272kcal
Equipment
egg piercer
Ingredients
16pcasparaguslarge not pencil thin
2eggs
¼lbprosciutto di parmasliced thin
Dressing
¼cupolive oil
2tbspred wine vinegar
1tspdried mustard
½tspsalt
¼tsppepper
Instructions
Eggs
pierce eggs with egg piercer
boil water in a sauce pan and gently add eggs
boil eggs for 10 minutes and then turn off heat. Leave eggs in hot water.
Asparagus
peel the stem of asparagus and cut an inch off bottom. Rinse in cold water.
Boil water in a large, deep frying pan. Asparagus need to lay flat in pan.
add asparagus to pan so they are completely submerged in water
boil for 5 or 6 minutes until bright green and fork tender
remove from heat and place asparagus in ice and water to stop cooking
Dressing
Mix ingredients together and whisk rapidly until emulsified.
Taste to adjust salt and pepper
Assemble Plate
Peel eggs and separate yolk from white. Chop each separately
Lay 4 asparagus on each plate
Drizzle dressing over asparagus
Top with a line of chopped egg yolk and chopped egg white
Add sliced prosciutto and serve
Notes
I always pierce my eggs with an egg piercer before I boil them. This prevents the dark line appearing between the yolk and white and will also make the egg easier to peel.
Sirloin Steak quickly marinated in Balsamic Vinegar, Rosemary and Olive Oil
Typical I love to grill a steak on an outdoor barbecue but there are days during the cold winter months that I crave that char on the outside steak. You know what I am taking about; that steak that has a delicious sear on the outside but when you cut into the steak it is that beautiful pink color and so juicy. This recipe can work well whether you are preparing the steak indoors or out. To prepare the steak in your kitchen you will need to have a cast iron grill pan. I really like the one I have from Lodge which happens to be on sale right now on Amazon. The greatest thing about this grill pan is that you can also use it as a griddle and at 20 inches long it fits over 2 burners which allows for even heat and room for lots of food. This pan comes pre-seasoned so it’s ready to use. To care for a cast iron pan you should wash after use and dry well then use a paper towel to rub a small amount of vegetable oil over pan before putting it away. The light layer of vegetable oil will prevent rusting and insure years of use. A well seasoned cast iron pan is a treasure and should last many years.
The steak needs to be taken out of the refrigerator 20 minutes before you are ready to grill it. This time is used to quickly marinate the steak and bring up the temperature before grilling. A good steak should not go straight from the refrigerator to the grill. In order to have a warm, pink inside you must bring the temperature of the steak up a bit. I think that 20 minutes is the right amount of time. This is also when I quickly marinate the steak in Balsamic Vinegar, Olive Oil and Rosemary. This seasons the steak and allows for a beautiful caramelization to occur on the outside of the steak when it is grilled. While grilling the steak I continue to baste it with a Rosemary brush dipped in Olive Oil and add a little butter on top of each steak.
Using an Herb Brush
Using an herb brush is a great way to baste steak, fish or chicken. I like to use Rosemary with steak but you can also make an herb brush with thyme, sage. It is very easy to make an herb brush, simply tie a bunch of herbs together with twine. If you are using an herb brush when you are grilling on a barbecue you may want to attach the brush to a wooden chopstick to create a handle so your hand doesn’t get too close to the fire. An herb brush will season the oil as you baste and adds a lot of flavor to your food
Plating the Steak
I like to roast whole bulbs of garlic to serve with these steaks. I serve bulbs of roasted garlic on the side. When you roast garlic it creates a nutty flavor that compliments steak perfectly. To roast garlic you need to cut off the top of the garlic to expose a bit of the garlic inside. Drizzle a little olive oil over the garlic and wrap in foil. Place it into a 400 oven for 45 minutes until garlic is light brown and tender.
Bulbs of Garlic with Olive Oil ready to be wrapped in foil and roasted in the oven
After the steak is done you need to tent it with foil and let it rest for 10 minutes before slicing it. This step is essential so that the juices absorb back into the steak. If you cut the steak too soon the juices will run out and you will have a dry steak. So this means NO CUTTING to see if the steak is done. The steak should have an internal temperature of 135 for medium rare. The steak will continue to cook as it rests so do not over cook it. Use a meat thermometer to check steak or start to learn how to determine the temperature of a steak by touching it. If you push the top of the steak before you grill it you will find that it is very soft, as the steak cooks it becomes harder to push in. So the softer the steak, the rarer the steak. For medium rare you are feeling for a firm but still soft texture. It will take a little time to learn this technique so I suggest using a meat thermometer and also touching the steak so you learn how it should feel according to the temperature you like your steak. Whatever you do just please do not cut it to see if the steak is done. You must let it rest before cutting. After the steak rests, slice it and serve it on a platter with the bulbs of garlic and some sprigs of rosemary.
My mother used to make this dish for our family quite often when I was younger. I love the combination of the spicy sausage, the tender chicken and the mixture of peas, olives and capers. There are so many wonderful flavors that come together beautifully in this Arroz Con Pollo. It is a very simple arroz con pollo and is ready in under an hour after you have marinated the chicken. Many arroz con pollo recipes call for using bone-in chicken but I prefer to use boneless. My family has a preference towards chicken breast but you can absolutely use boneless thighs if you prefer. In this recipe I used chicken tenders that were cut in half. You do not want the chicken pieces to be too small because you do not want them to be dry. I marinate the chicken in the morning so it has plenty of time to season. It’s best to place the marinade in a ziplock bag with the chicken and gently message it into the chicken. Remove most of the air from the bag before placing it in the refrigerator to marinate. A quick saute with the onions is all that is required before adding the rest of the ingredients. You want the chicken to finish cooking in the broth so it stays nice and tender.
Arroz Con Pollo originated in Spain but there are now several interpretations throughout Latin America and Spain. Most Arroz Con Pollo recipes call for using ham in the recipe. My mother liked things spicy so she substituted the ham for andouille sausage. The sausage is lightly browned and the rendered fat is used to sauté the chicken and onions. The andouille sausage adds a lot of flavor to the dish. The pinch of saffron is also important to the depth of flavors in arroz con pollo. You can play with the ingredients a bit; if you like olives add a few more, if you don’t like capers then add less. Use my recipe for arroz con pollo and make it your own.
Some Variations:
Use brown rice instead of long grain white rice
Add red and green bell peppers when sautéing the onions
Use bone-in chicken instead of boneless
Add a cup of rinsed and drained black beans
Substitute chopped kale or spinach for the peas
Use a few dashes of hot sauce if you want to turn up the heat
The key to success is delicious food that you are able to sit and enjoy with your guests.
My Dad turned 84 this week and I decided to host a small dinner for him at my apartment. We usually travel or go out to a restaurant for his birthday but given the times we decided it would be best to dine at home. My Dad loves his birthday so it was important to me to pick a special menu to serve for the occasion. Preparation and timing are the two most important factors in hosting a great dinner party. You want to be able to enjoy the dinner not only prepare it. It is also very uncomfortable for your guests if you keep getting up and look like you are working too hard. It is essential to choose a menu that can be prepped ahead of time. I chose to serve Fresh Perigord Black Truffles Shaved Over Pasta as the appetizer followed by Chorizo and Panko Crusted Black Cod with Beurre Blanc served with Individual Potato Gratin, Spinach Rounds and Blistered Tomatoes. The potato gratin was made 2 hours ahead of time and covered with foil so I could reheat them in the same oven as the fish. The spinach rounds were prepped in the morning and kept in the refrigerator. The Beurre Blanc was made an hour before guests arrived. The sauce was served room temperature.
So let’s sum this up: During the day, The fish was topped with the Panko and Chorizo and put on a baking sheet in the refrigerator, the Spinach Rounds were prepped and put on a baking sheet in the refrigerator and the Potato Gratin was fully cooked and left at room temperature covered with foil. The tomatoes were tossed in Olive Oil and sautéed for 5 minutes while I was making the pasta. The Black Cod, Spinach and Potatoes all required 12 minutes in a 400 oven. When the appetizer was served I put the Black Cod on the top shelf in the oven, the spinach on the middle shelf and the potatoes on the bottom shelf. I then went to sit down and eat my appetizer with my guests. After 10 minutes I returned to the kitchen to take everything out of the oven. The plates were all stacked and ready for me to place the food on. As my kids cleared the appetizer dishes, I plated the food and it was served to the guests. After that I was able to sit, have a glass of wine and enjoy my Dad’s birthday. Dessert was brought by my Step Mom so the rest was easy. I had the dessert plates and forks ready to go. The other nice thing about preparing in advance is that it makes clean up very easy. All that was needed to get done was place the plates and silverware into the dishwasher. No one wants to walk into a messy kitchen at the end of the night…
Appetizer:
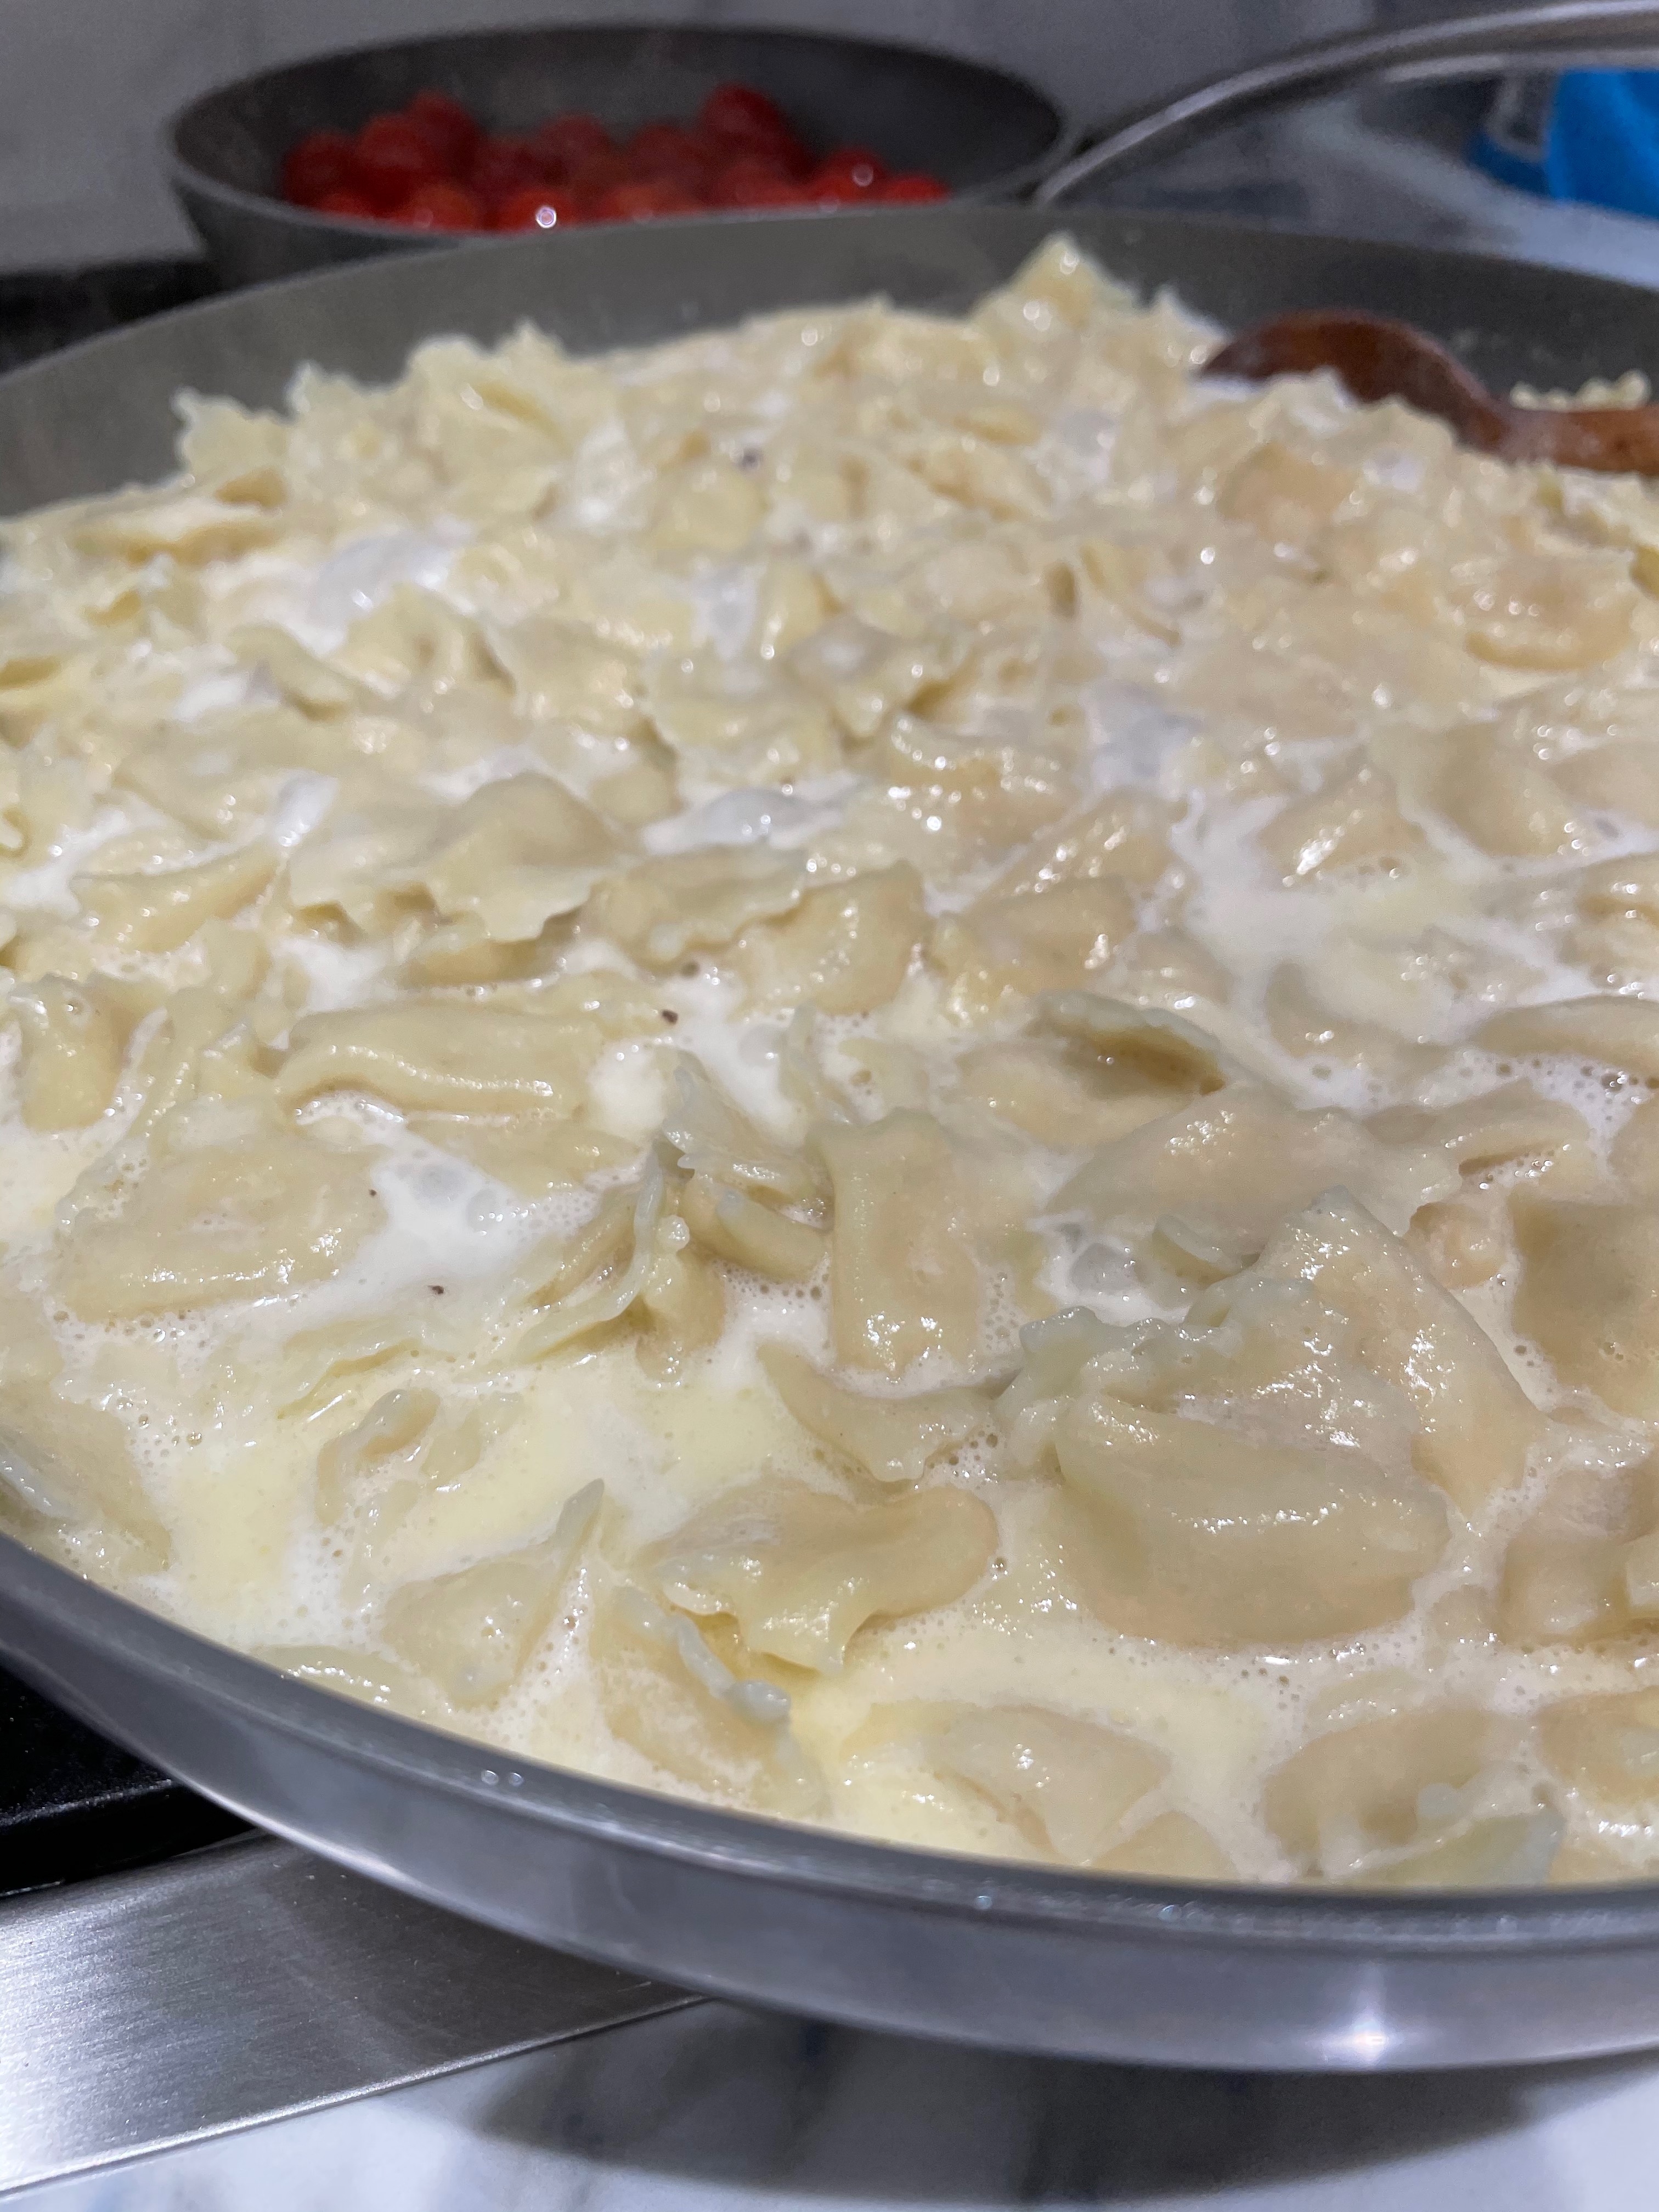
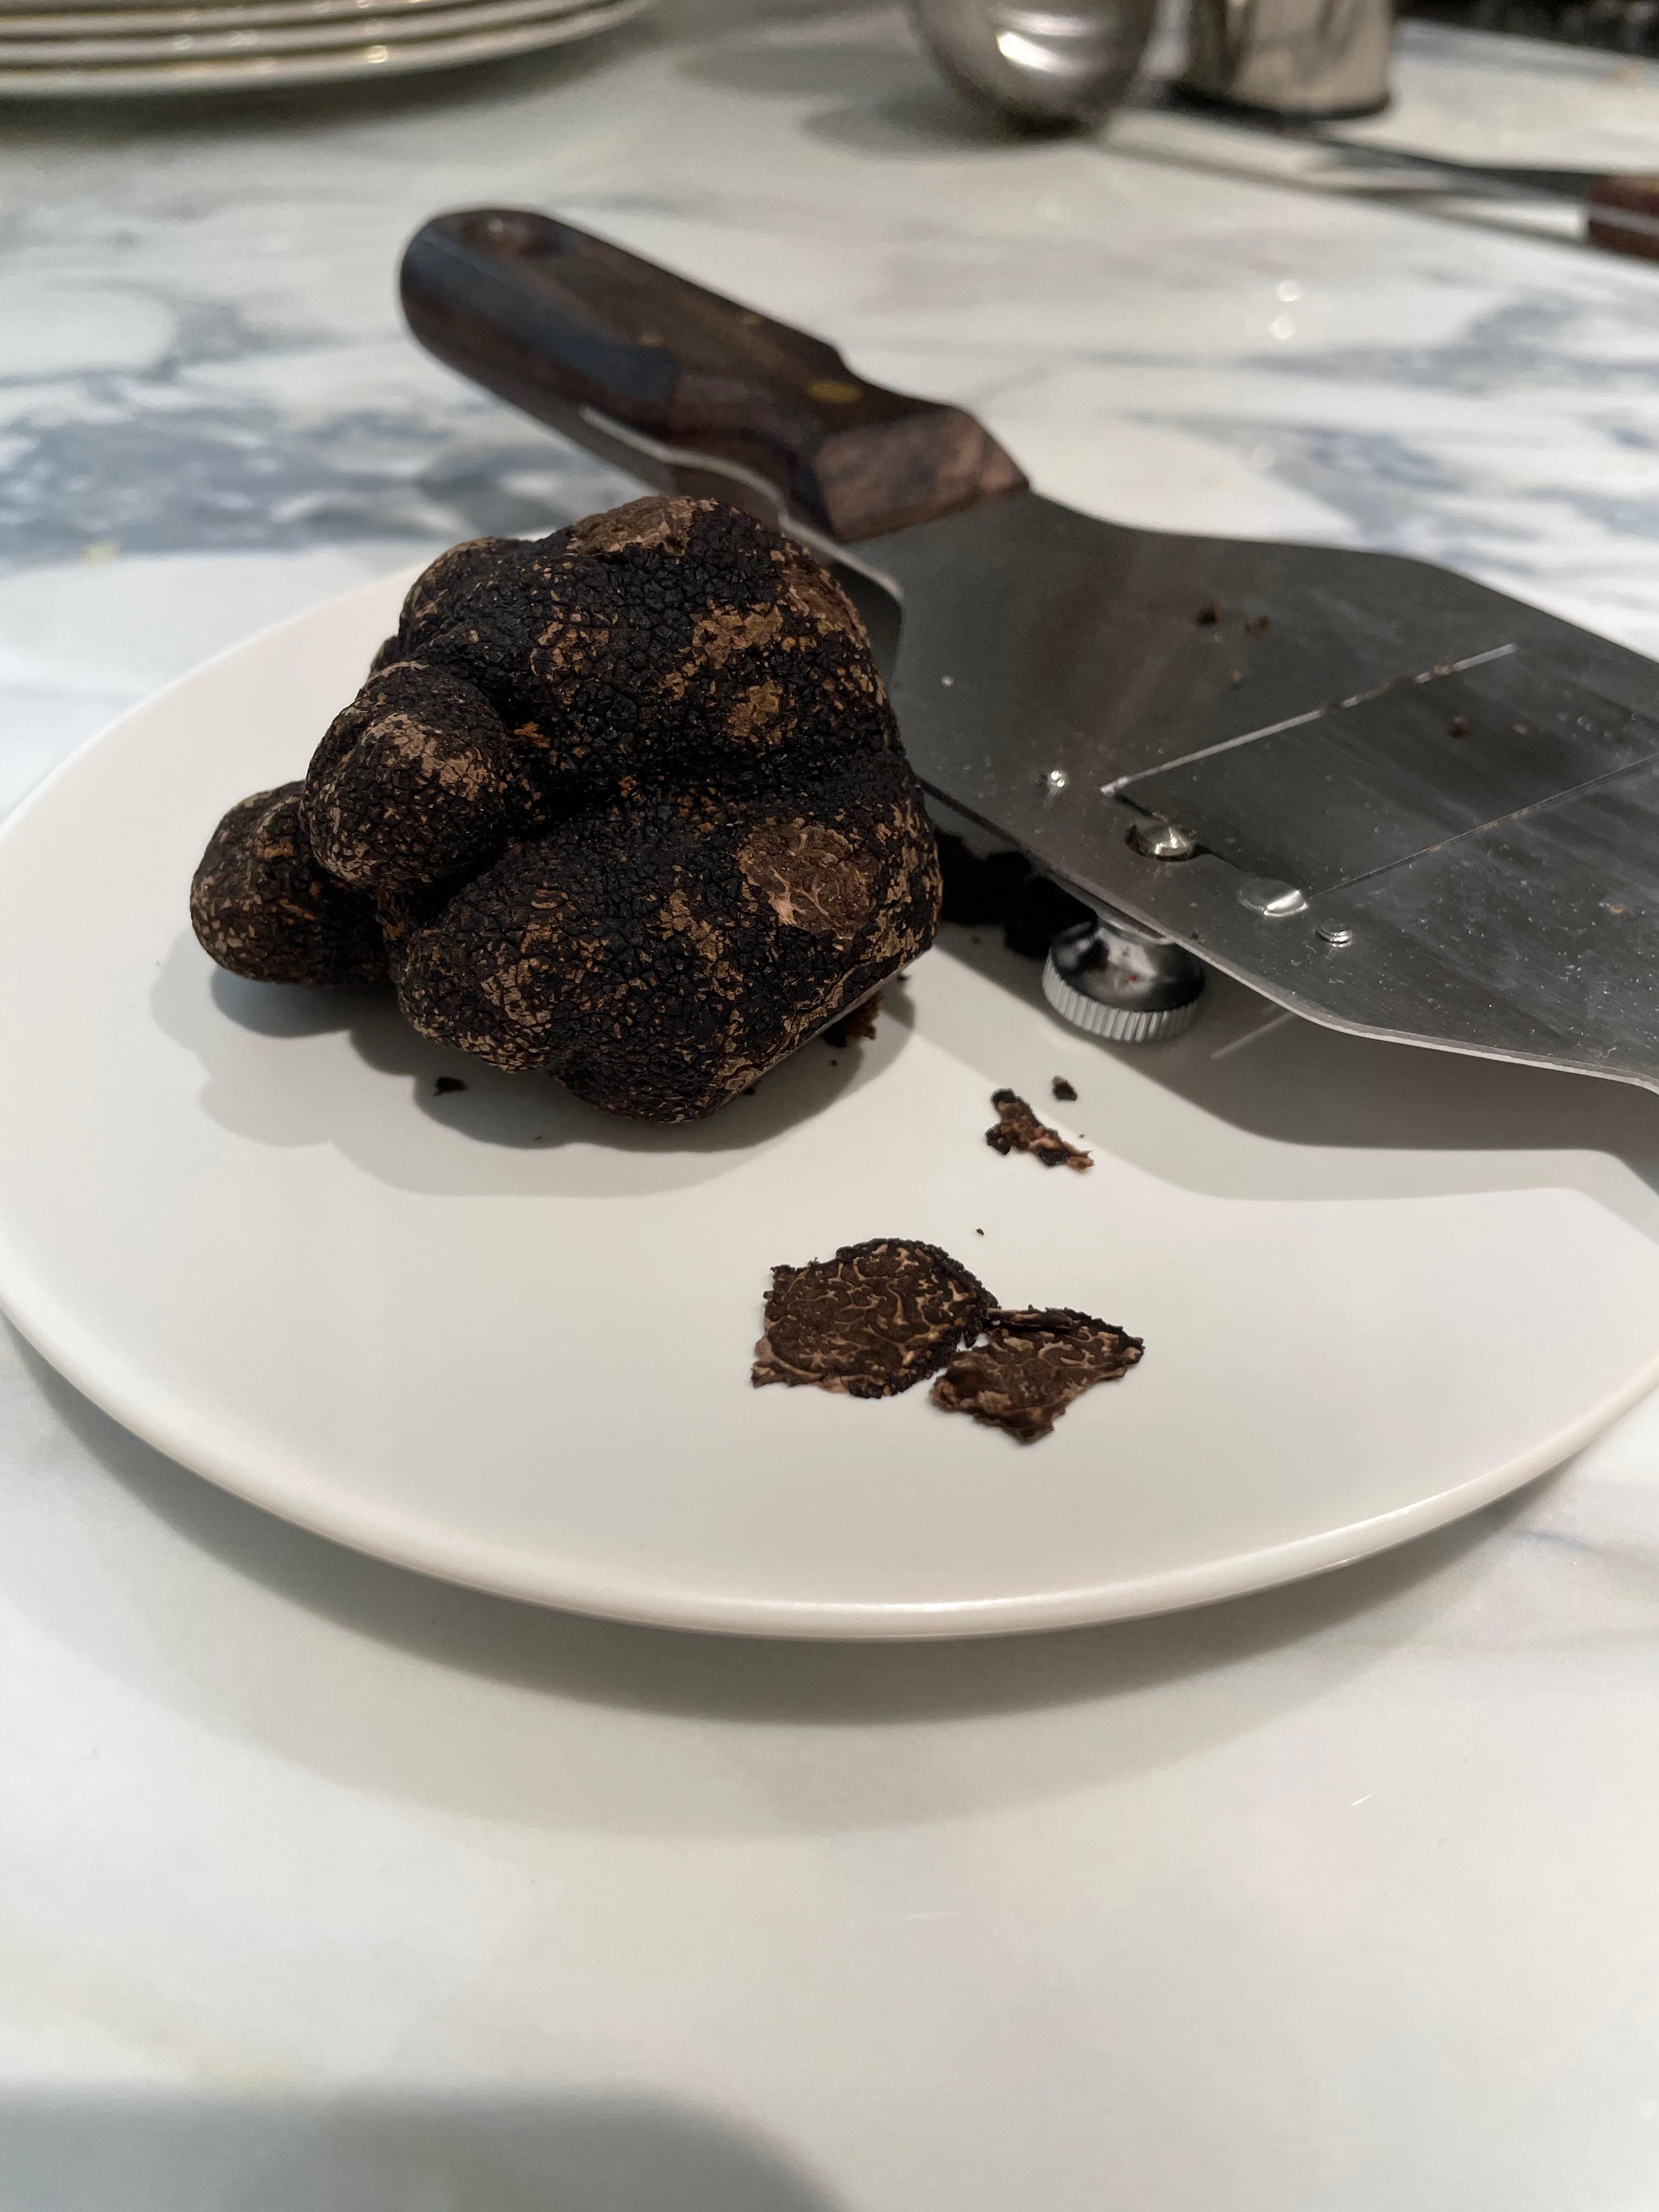
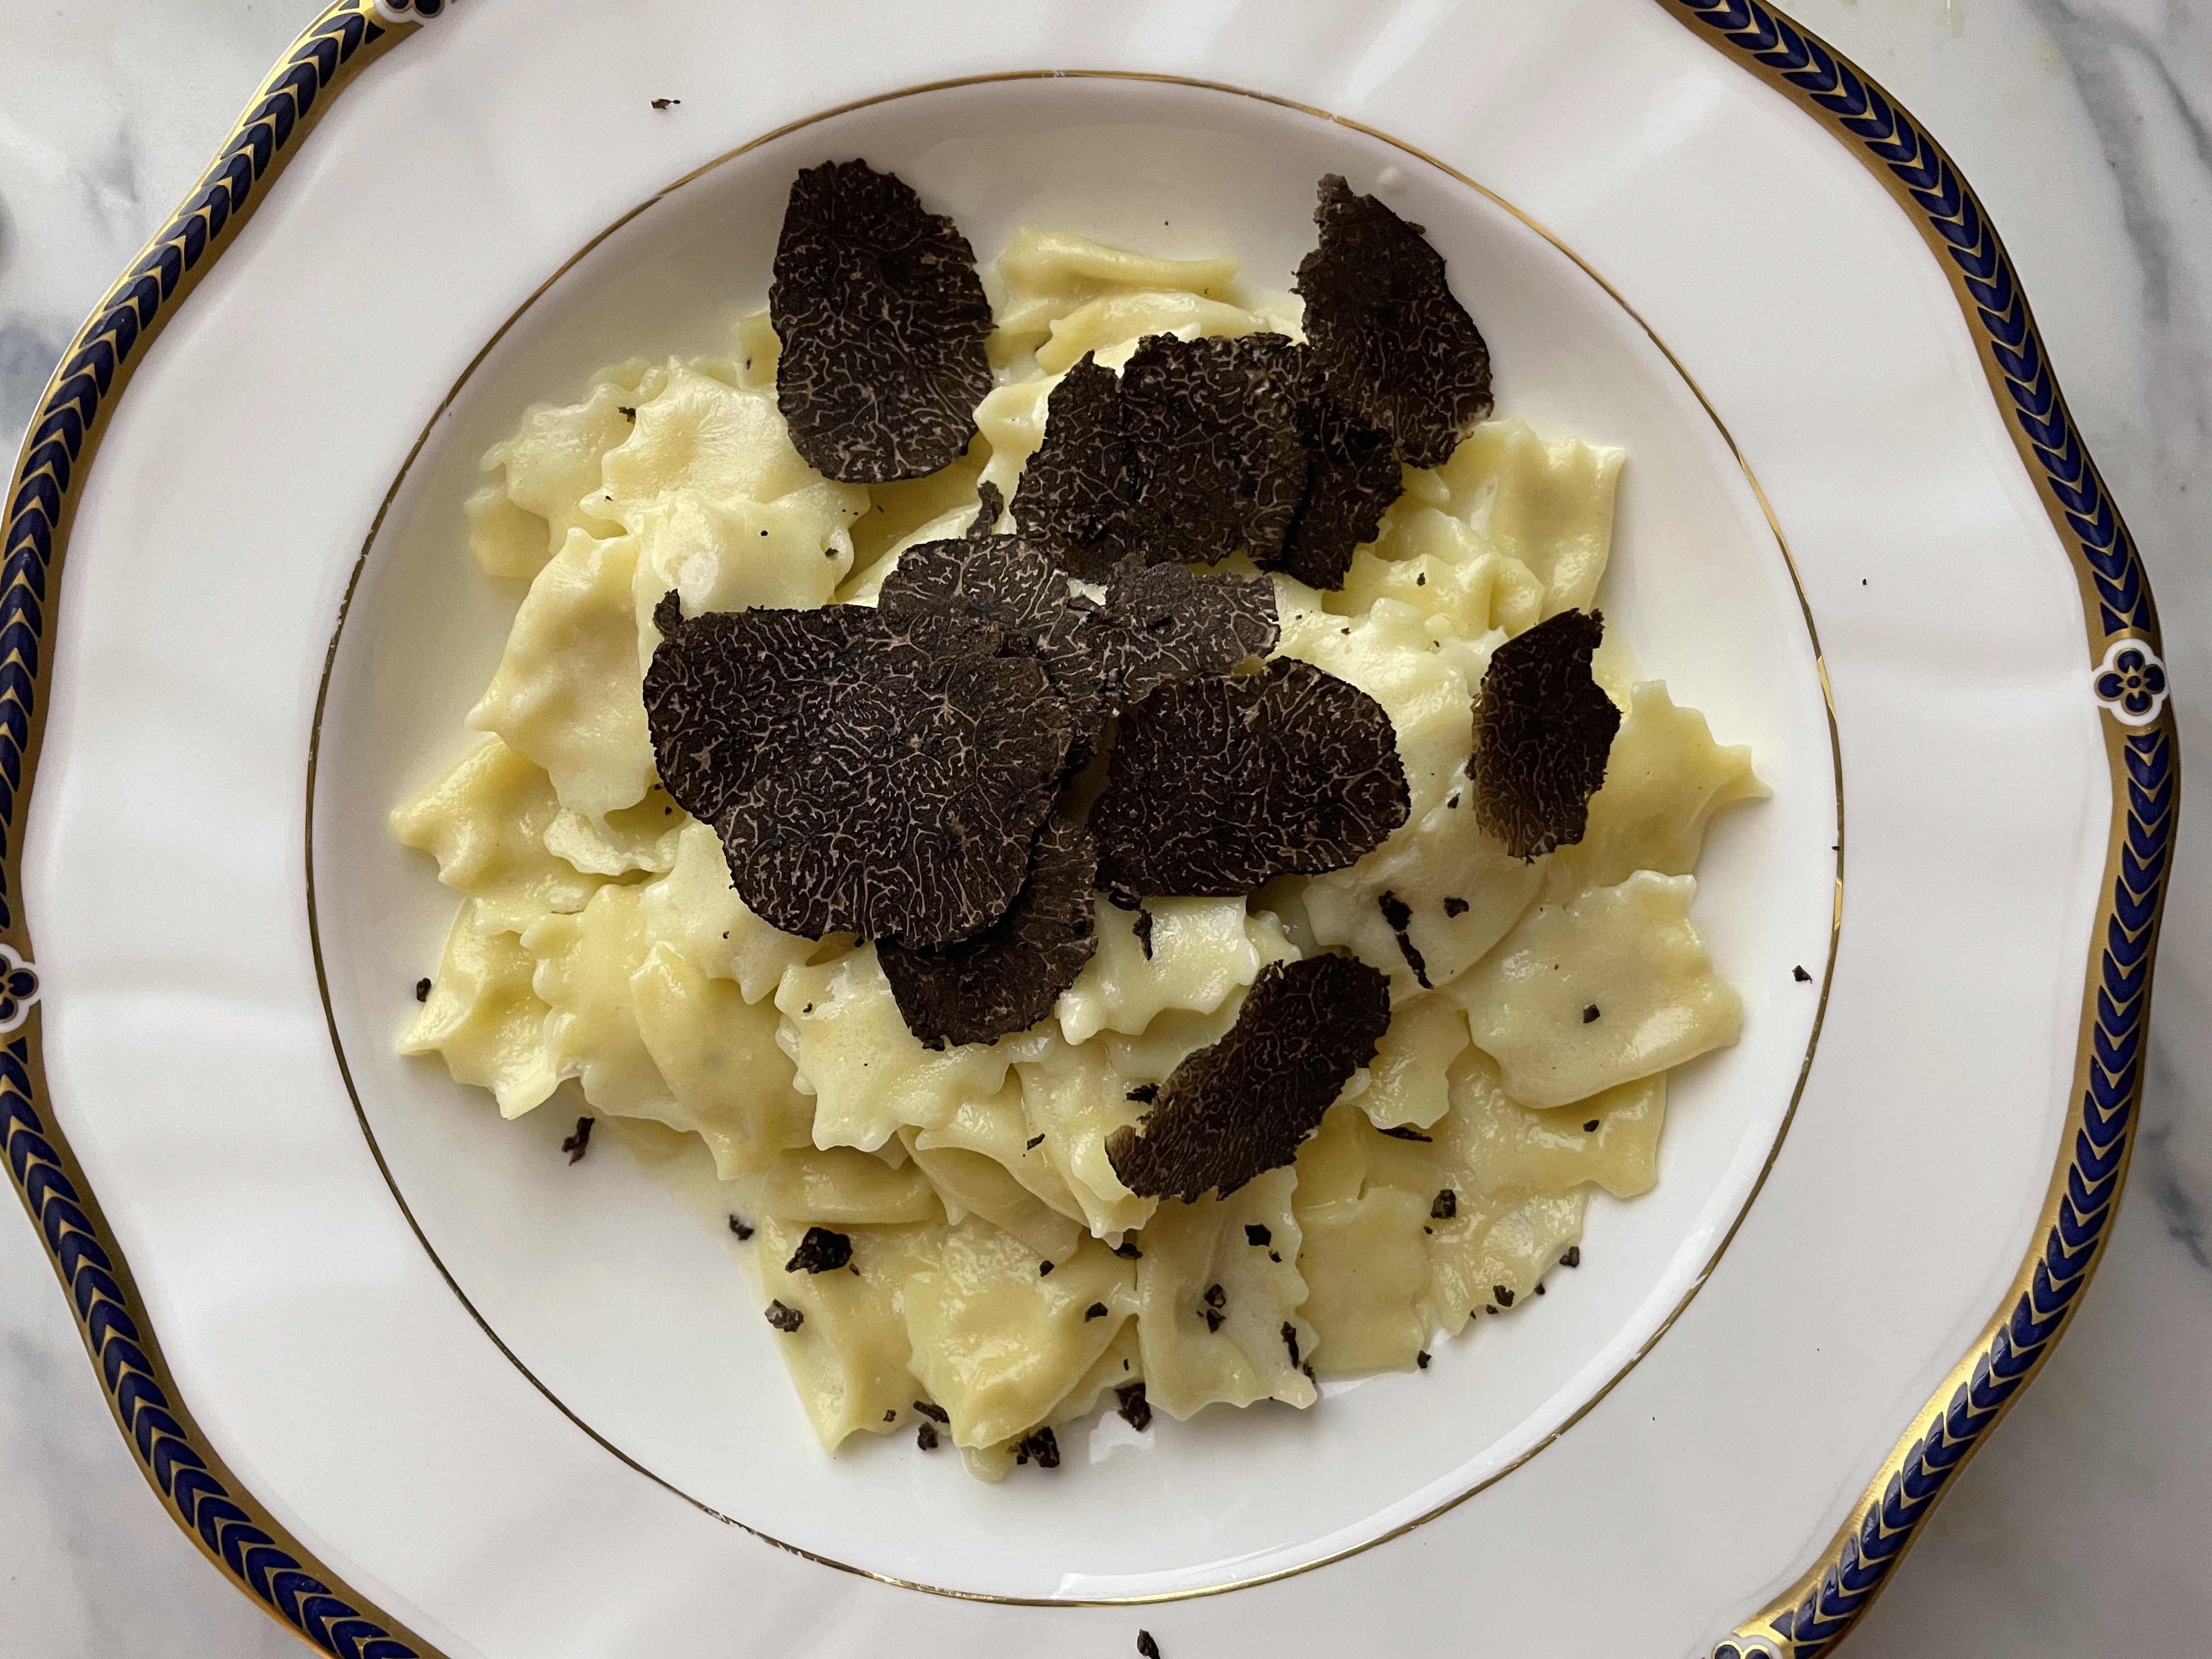
We started with Cacio e Pepe Ravioli in a Truffle Butter and Cream Sauce topped with Shaved Fresh Black Perigord Truffles. Black Perigord Truffles are found in the Winter months, November through March. In the next few days I will be posting more on Black Truffles. The appetizer pasta was very quick to make. The Cacio e Pepe Ravioli was fresh so it only took a few minutes to cook in boiling water. I had a big pot of salted water simmering on the stove when my guests arrived so all I had to do was turn up the heat and make a quick Truffle Cream Sauce when it was time for dinner. The sauce took 5 minutes to make, roughly the same amount of time it took the pasta. I quickly tossed the ravioli in the sauce, dished it into bowls and my daughter Olivia brought them to the table as people were sitting down. I then went around the table and shaved the fresh Black Perigord Truffle over the pasta. It makes a beautiful presentation to shave the Black Truffle at the table.
Entree:
Try to pick a menu that is easy for you. The sides should definitely be made earlier in the day. Many vegetables are able to serve room temperature after being prepared. Try roasting zucchini, yellow squash and tomatoes or sautéing string beans in shallots and serving them room temperature or give them a bit of heat in the oven before serving. Individual Potato Gratin can be made earlier in the day and quickly reheated. Fish is ready in no time which is why I love this Black Cod recipe. It is ready in 15 minutes and looks absolutely beautiful on a plate.
I decided to make the ravioli heart shaped in honor of Valentine’s Day but you can make them square or round. I use an egg pasta dough for ravioli because I like the silkiness that the eggs give the pasta dough. This is a fresh pasta so it is best made and eaten the same day. You can freeze the ravioli for up to a month.
I use the Antree stand mixer attachment available on Amazon to roll the pasta into long thin sheets. Remember, you are placing two layers of pasta on top of one another so you do not want the pasta sheets to be too thick or else the ravioli will be too doughy.
Humidity plays a big roll when you are making pasta dough. If it is very dry like it is in the winter you will need to add a bit more moisture to your dough to achieve the right texture and consistency. The dough needs to come together in a ball before you begin kneading it. Kneading will take about 10 minutes. You will know that you have kneaded enough when you are able to stretch a piece without it tearing. The dough should look silky and not stick to your hands. If the dough feels too wet add a little flour and keep kneading. It is much more difficult to add moisture to dry dough so make sure the dough is moist enough and comes together in a shaggy ball before you start kneading. If it feels too crumbly and dry you should add another egg and a tablespoon of water.
This Is Important:
You MUST let the dough rest for a half hour before you start rolling it. After you have kneaded the dough and it looks silky and is not sticky and you can take a little piece off and stretch it without breaking you are now ready to let the dough rest. Wrap the Pasta dough in plastic wrap and let it sit on the counter for a half hour. If you are planning on making ravioli than use this time to make the filling.
Pasta Dough Ingredients
Resting Pasta Dough
What Type Of Flour Should I Use?
I like to use all purpose flour with a little semolina flour mixed in. Typically I use 3 parts all purpose and 1 part semolina. You can also use “00” flour but I prefer to use “00” for pizza dough, not pasta dough. It’s really up to you. All purpose flour makes the pasta silkier, the semolina adds a little roughness to it. The semolina flour helps the sauce stick to the pasta.
What Can I Fill The Ravioli With?
In this recipe I fill the ravioli with a puree of garlic, prosciutto and white beans. You can fill the ravioli with ricotta or ricotta and spinach. You can also puree green peas to fill the pasta. The possibilities are endless so be creative. You just need to make sure that the filling is a puree and not clumpy. When you make the ravioli you need to make sure that there is no air trapped in the ravioli so make sure the ravioli fits snug around the filling.
Egg pasta dough is perfect for making ravioli and fettuccini
Prep Time15 minutesmins
Resting Time30 minutesmins
Total Time45 minutesmins
Course: Main Course, Side Dish
Cuisine: Italian
Keyword: fresh pasta
Servings: 6people
Calories: 237kcal
Equipment
pasta roller
Ingredients
1½cupsAP flour
½cupsemolina flour
3eggsroom temperature
2tbspolive oil
1tspsalt
1tbspwaterif dough is too dry
Instructions
Mix flours and salt together and pour on counter
make a large well in flour
add eggs and oil in center of well
slowly incorporate flour using a fork
when all the flour is mixed in gather dough into a ball
knead dough until smooth and silky. About 10 minutes
Take a small piece of dough off and try to stretch it. If it stretches a couple of inches without breaking then you have kneaded enough.
Wrap dough in plastic and let is rest at room temperature for 30 minutes
cut dough into 4 pieces and roll dough into an oval shape with a rolling pin. Then roll through a pasta roller until desired thickness. Start with the widest setting #1 and keep making the roller more narrow. For ravioli roll dough until #6. Fettuccini can be rolled to #6 or #7. Very thin pasta like cappellini should be rolled to #7 or #8